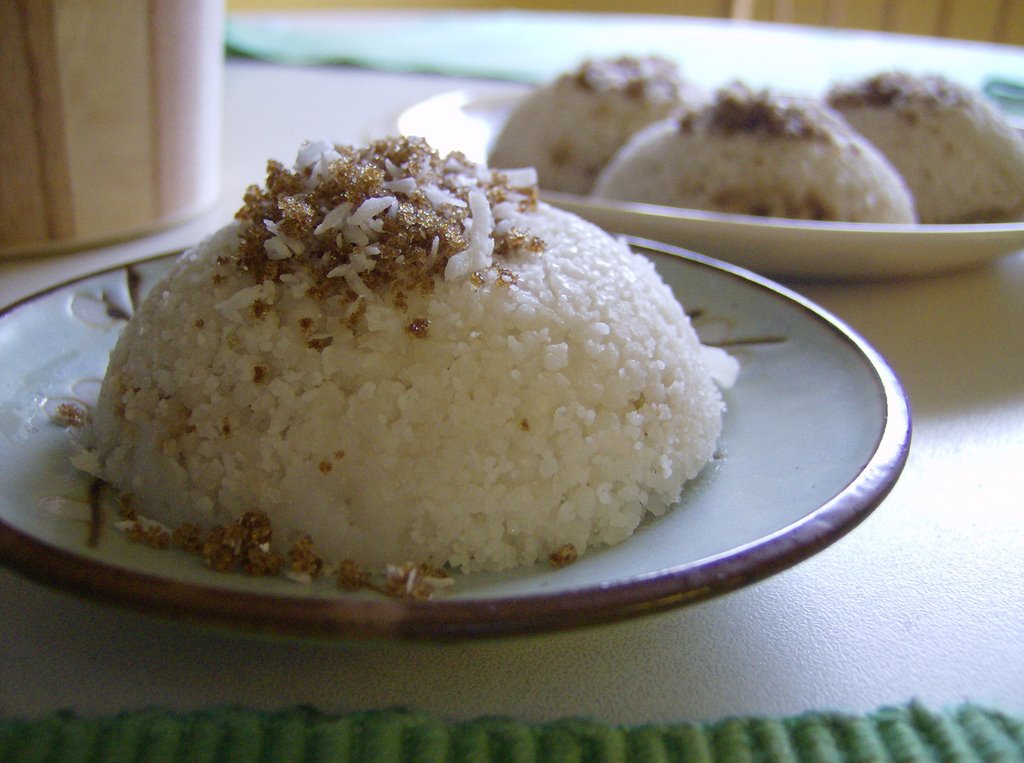
So, the other day I decided to reach deep down into my Singaporean/Malaysian roots and make a much loved Malaysian dessert: Nine Layer, Kueh Lapis. It was a bit tricky finding a recipe that was reliable but I managed to find one online at
pwmf.blogspot.com/. I wasn't quite sure if I could trust this recipe so I also relied heavily on a book I have lying around the house entitled "Singaporean Cooking with Mrs Leong Yee Soo". These two resources combined with my culinary experience allowed me to create a beautiful looking (and tasting) Kueh Lapis with an amazing texture. But have no fear, though I cannot lend you all my cookbook I can surely show you how I was able to create this kueh (while also varying the recipe slightly).
When first approaching the recipe from
pwmf.blogspot.com/ I prepared myself for what seemed a difficult dessert to make. Firstly, all of the ingredients were measured out in grams (sadly I do not have a kitchen weighing machine) so I had to modify the recipe using online conversion resources. So, feel free to follow the directions on the "Playing with My Food" site or use my variated recipe below.
Once I finished arranging my Kueh on a nice plate, I realized that the recipe yielded many servings. So I brought some to work and to my bible study. It got rave reviews and many people asked me for the recipe. I've decided to post the recipe online and share it (as well as my beautiful pictures) with the world, or anyone who stumbles upon my blog. Hope you enjoy the kueh... I know I did :P
(NOTE: I halved the online recipe so that the Kueh batter would fit into a round 8-inch diameter cake pan)
 Joanna's Variation on Kueh Lapis Beras
(Steamed Tapioca Layer Cake)
Ingredients
Batter A: (Yields 4 Cups)
2 cups Tapioca Starch
1/2 cup Rice Flour
1 1/3 cup Sugar
1 1/4 cup Coconut Milk mixed with 1 1/4 cup Water
1 tsp Pandan Paste
Batter B: (Yields 2 Cups)
150 grams Cooked Taro Root (approx. 1/4 of a medium sized Taro)
1/3 cup Sugar 1 cup
Tapioca Starch 45ml Coconut Milk + 45ml Water
3-4 drops red food coloring
Batter C: (Yields 2 Cups)
150 grams Cooked Mung Bean (1 cup)
1/3 cup Sugar
1 cup Tapioca Starch
45ml Coconut Milk +45ml Water
Preparation:
To cook Mung Bean- Wash beans and discard damaged ones. Place in a pot with 2 cups of water and soak for 3-4 hours. After this time, boil mung beans for 15-20 minutes, until soft.
To cook Taro- Wash and peel off skin; remove damaged parts. Dice the taro into equal sized cubes. Place in a pot of water to soak for 1 hr. After this time, boil taro for 15-20 minutes, until soft.
Grease 8-inch round cake pan. Prepare wok for steaming process.
Method:
Pandan Layer
1. Combine Coconut milk and water (from Batter A) together in a small mixing bowl. Add 1 tsp pandan paste to give flavor and create the green color.
2. Combine the Tapioca Starch, Rice Flour and Sugar (from Batter A) in a larger mixing bowl.
3. Now pour the liquid ingredients (from Batter A) into the dry ingredients (from Batter A) to form a thin paste. Set Aside.
Taro Layer
4. Combine Coconut milk and water (Batter B) and mix thoroughly.
5. Drain cooked Taro Root and place in blender.
6. Add in the Tapioca Starch and Sugar (Batter B). Then add in the coconut/water mixture. Blend.
7. Add a few drops of red food coloring to create a purple color.
8. Place Batter B into an easily "pourable" bowl/container. Set Aside.
(TIP: When adding food coloring, add drops one at a time between blender pulses. This way you can more easily control the hue of the batter)
Mung Bean Layer
9. Combine Coconut milk and water (Batter C) and mix thoroughly.
10. Drain cooked Mung Beans and place in blender.
11. Add in the Tapioca Starch and Sugar (Batter C). Then add in the coconut/water mixture. Blend.

Look... all the pretty colors. Now the Batters are ready for steaming!
Cooking/Steaming:
1. Fill wok with water and steaming tray. Turn stove on "high" and allow water to boil, keep on "high" throughout steaming process. Place greased cake pan in wok for steaming.
(NOTE: Make sure the pan is level, otherwise the layers will be slanted. Also, This Kueh recipe yields more Batter A than Batters B and C --with a ratio of 2:1:1. So, when layering the cake keep this in mind.)
2. Pour in layer of Batter A, steam for 5-10 minutes (until cooked). Ensure this layer is firm (like jello) and no longer liquid before adding second layer. Pour in layer of Batter B and steam until cooked, roughly 5 minutes. Again check for doneness of each layer before adding subsequent layers. Alternate layers and create your own color pattern until all the batter is used up.
3. Let cool for 7-8 hours before cutting into slices. Cover the cake with plastice wrap or a lid to prevent drying out. I found it easiest to slice the cake using a serrated knife, it produces the cleanest and most evenly sliced pieces.
(NOTE: To ensure that you have an evenly layered cake, use the same amount of batter for each layer. For each layer, I used 1 cup of batter. Also, make sure to spread the layers of batter out to the edges of the pan.)


.jpg)


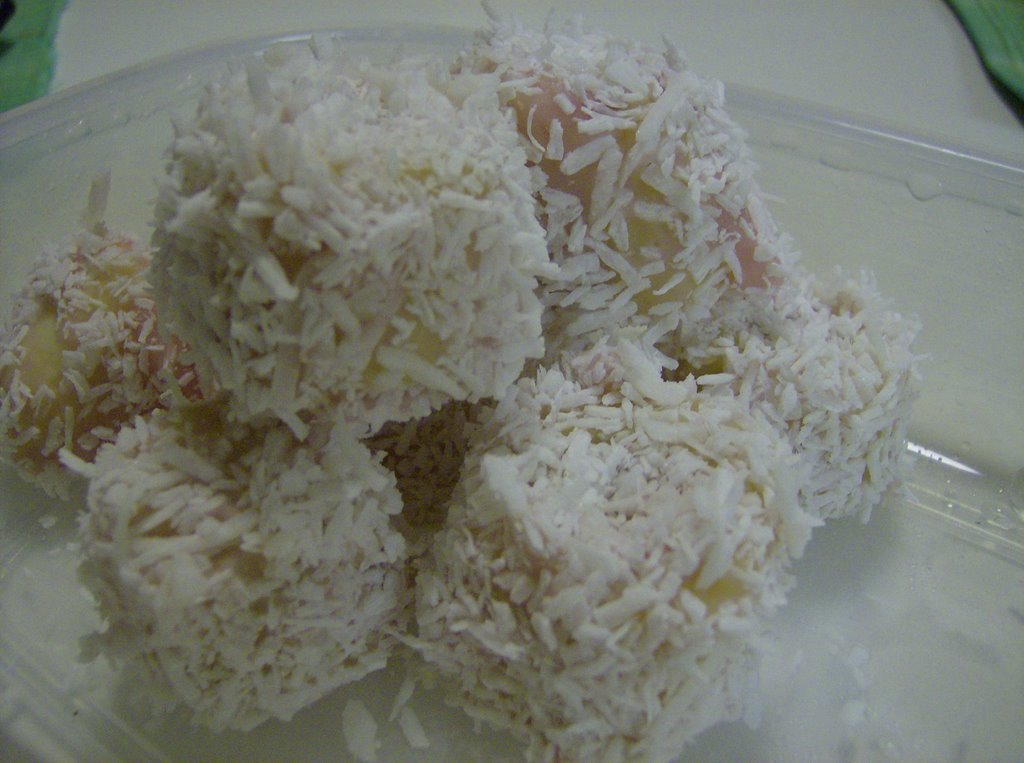 Who doesn't love a delicious truffle? Okay, so they're not really truffles (as you can tell by the photo) but they are delicious. Well, I've created a great way to make a healthy "truffle". It's really simple and doesn't make a ton of mess.